
The following information is a simple process that can be used to gather very basic Wi-Fi information from the perspective of the Apple IOS client device.
Information captured as part of the process can then be emailed and reviewed.
Required the following;
- Apple IOS devices i.e. IPad
- Airport Utility installed
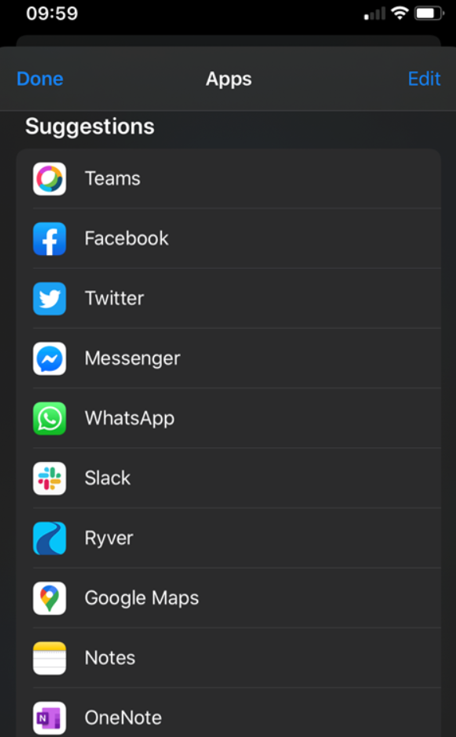
- Notes application ( installed by default)
- Email account synced to IPad
Step 1: Confirm Apple device has sufficient battery life for testing
Step 2: If required support contact details, as information collected can be emailed for review
Step 3: Understand how perform screen captures on your Apple device i.e. IPad “this may vary based on versions

The following steps will required access to the internet and apple app store to download “Airport Utility”.
Once the App has installed, the remainder of the steps for this section will be configuring and testing the application before using at in the field.
Step 5: Click on App store application

Step 6: In search bar type “Airport utility” and click on the app

Step 7: Click download button

Step 8: Upon completion of download, go to “Settings”

Step 9: In “Settings” scroll down to till you locate the “Airport Utility” application, click on it

Step 10: At the bottom click and enable “Wi-Fi Scanner”

- Exit out of settings
Step 11: Click “Airport Utility” application

Step 12: Click “Wi-Fi Scan”

Step 13: Click “Scan”

- Wireless networks will hopefully start appearing. i.e.
Step 14: Click “Stop” after 15-30 seconds

Testing of application is now complete, exit out of application
Step 15: locate a fire evacuation map, they are usually located as you enter the area, take a photo on IPad
Step 16: Go to location of reported wireless issues,
Step 17: Click “Airport utility” application
Step 18: Click “Wi-Fi Scan”
Step 19: Adjust bar to 30 seconds

Step 20: Click “Scan”
- (Wireless networks will hopefully start appearing). i.e.

-
- The scan will complete upon reaching the duration it was set for i.e. 30 seconds
Step 21: Click located at the bottom of the screen
Step 22: Click “Copy”

Step 23: Exit out of application
Step 24: Click “Photos”

Step 25: Select the photo of map
Step 26: Click “Edit”

Step 27: Click  located at top left of the screen
Step 28: Click “Markup”

Step 29: Select suitable color and marker

- Identify and mark your location clearly
- Be as accurate as possible
Step 30: Click “Done” twice
Step 31: Click 
Step 31: Scroll across and click “More”

Step 32: Scroll down and click “Notes”
- Photo will appear, click and pasted saved Wi-Fi Scan information

Step 33: Save “Note”
- Repeat the process for all locations where wireless issues have been reported
The finale process if required is to send the capture information via emailed so that it can be reviewed
Step 34: Click “Notes” application

Step 35: Click on saved “note”
- This will contained the photo and Wi-Fi Scan information i.e.
Step 36: Click
Step 37: Click “Mail” application”

- This will automatically import all the saved information into the text field on the email.

-
- Add information about the location name and details that may be relevant
Step 37: Send email to Wireless engineer to be reviewed
