
I love getting to work and testing things in my home lab, so come my last holiday time, I decided to change up my home office and lab setup as it annoyed me to no end. It work but I was always looking for ways to make it better.
(At the end of the blog I will have listed the equipment used)
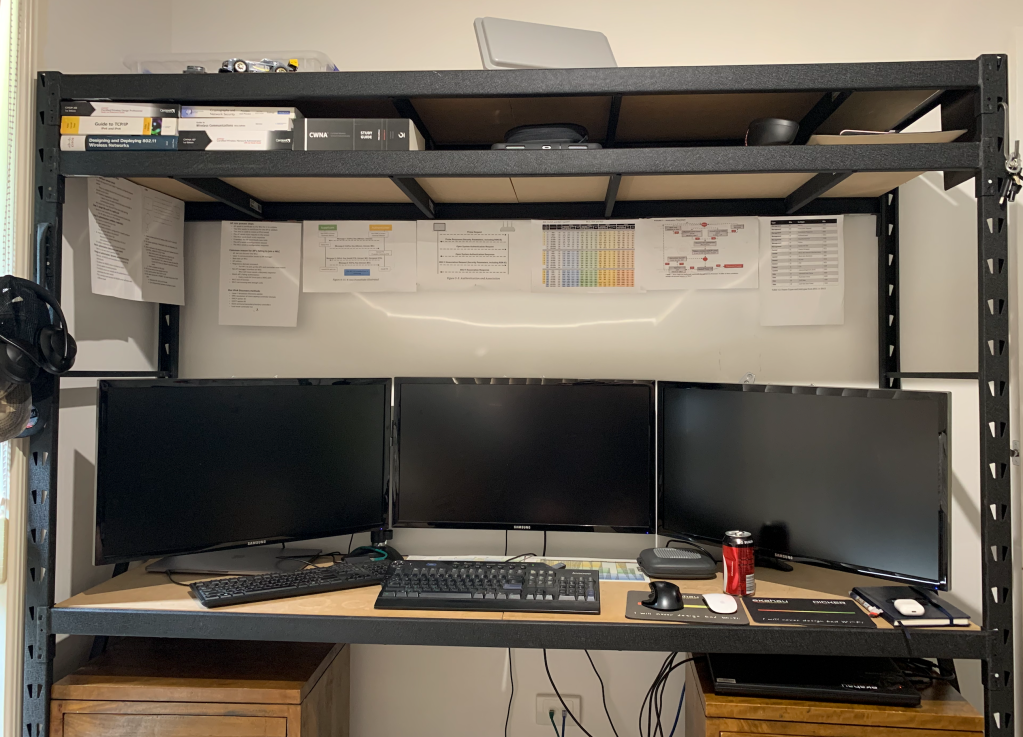
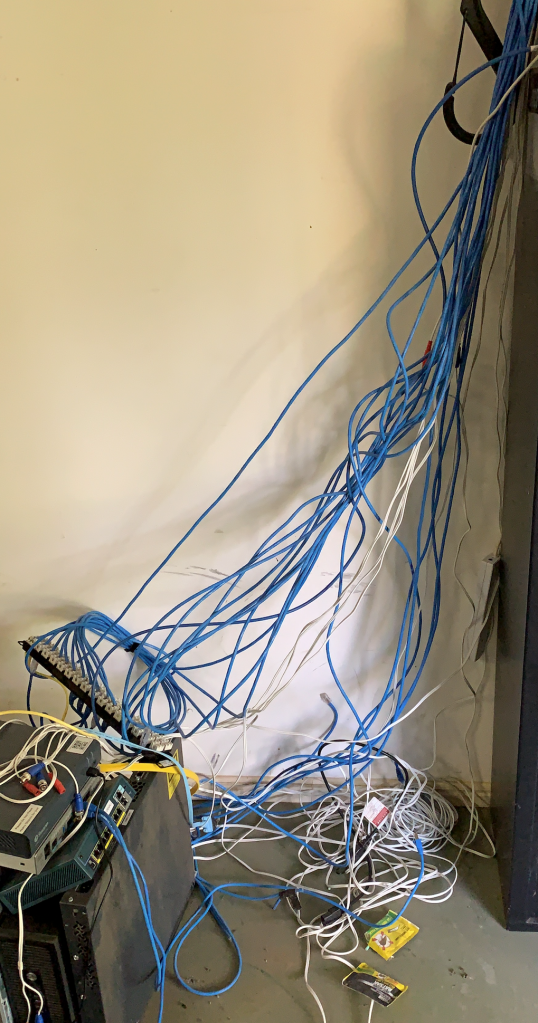
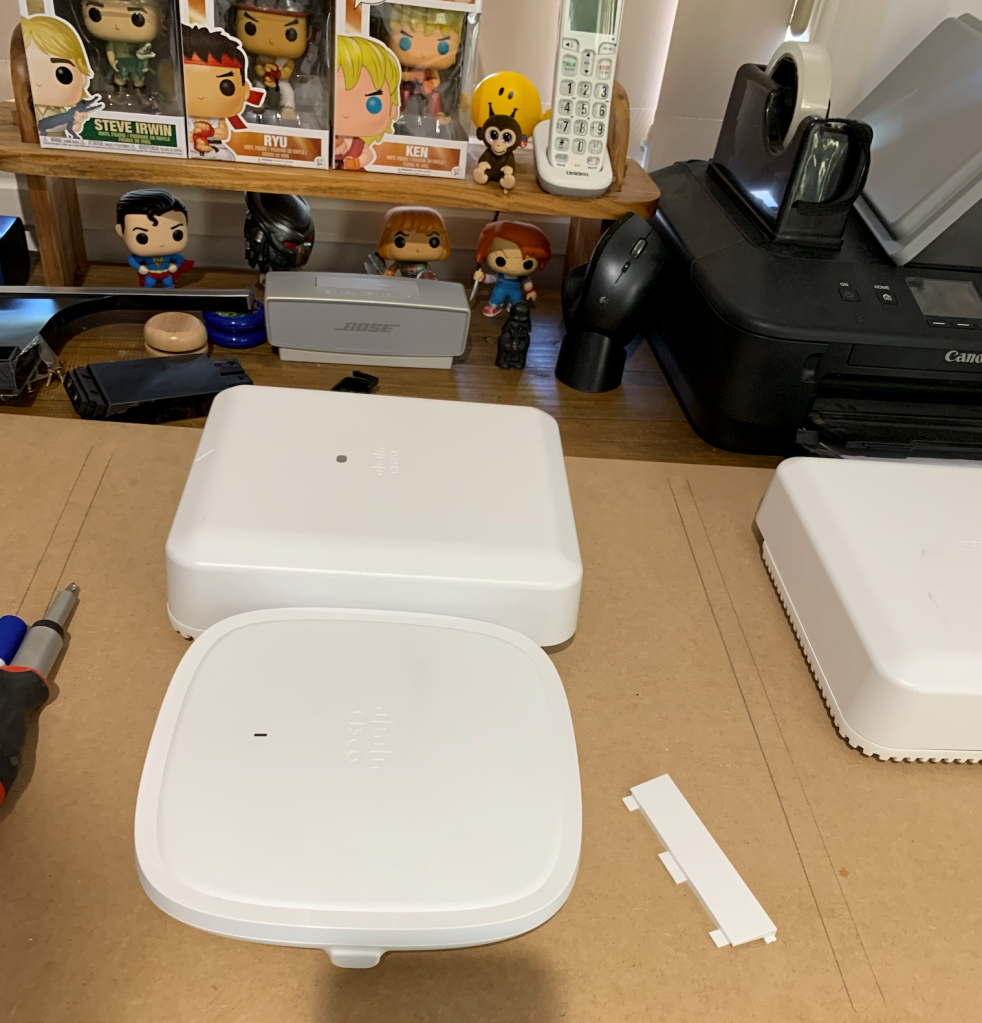
The 3 photos are of what my office use to look like, I also live on 2 acres so I have AP’s (1562e) mounted throughout my property to test different scenarios.

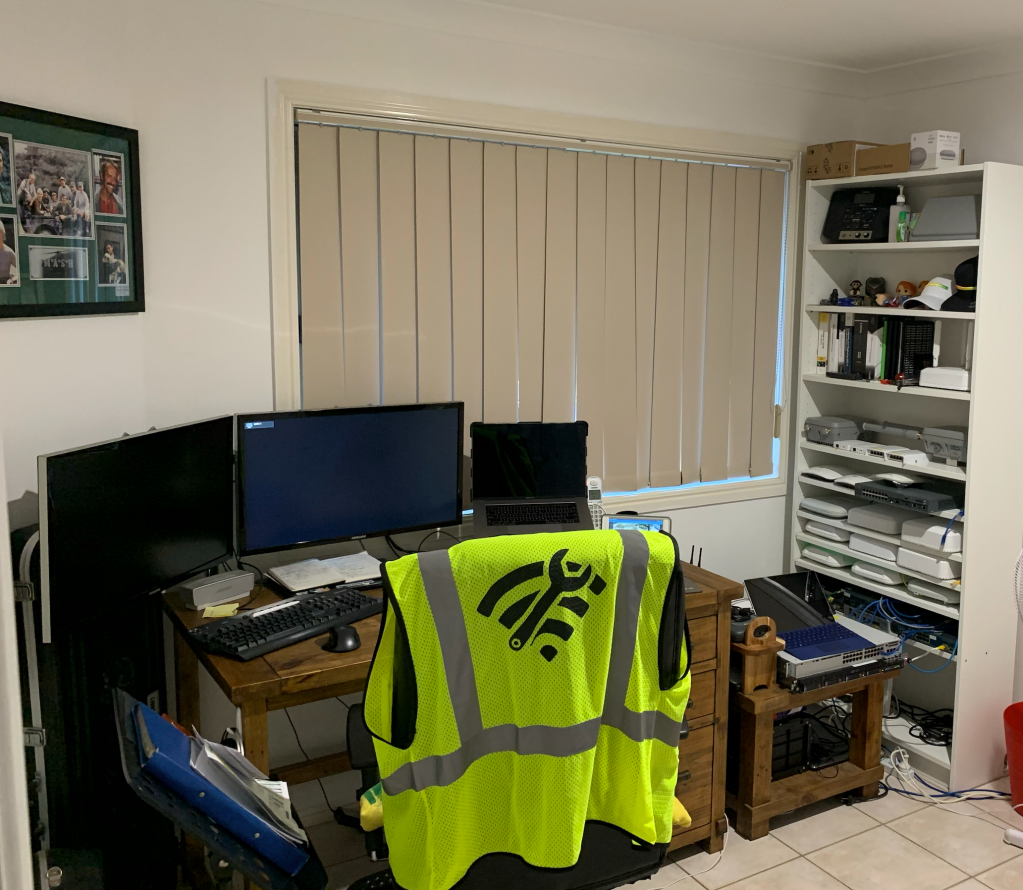
The space I called my office was really our family TV room and my office was stuck in the back, not ideal .
So after many discussions with my wife, I got my own space , I was able to change the spare bedroom into my office.
At first I just relocated everything into the spare room, excluding the communication rack as I did not have the energy to redo all the cabling. This setup lasted a few months before I got the #$% with it, the desk was to small, I had no work bench, and I needed to have one, cabling and testing anything was do able but painful.
So after looking around and trying to come up with ideas, I decided to trial something different for the home office by using modular shelving rack system from a big brand hardware store. If it didn’t work out the shelves could be used in the my shed (no loss)
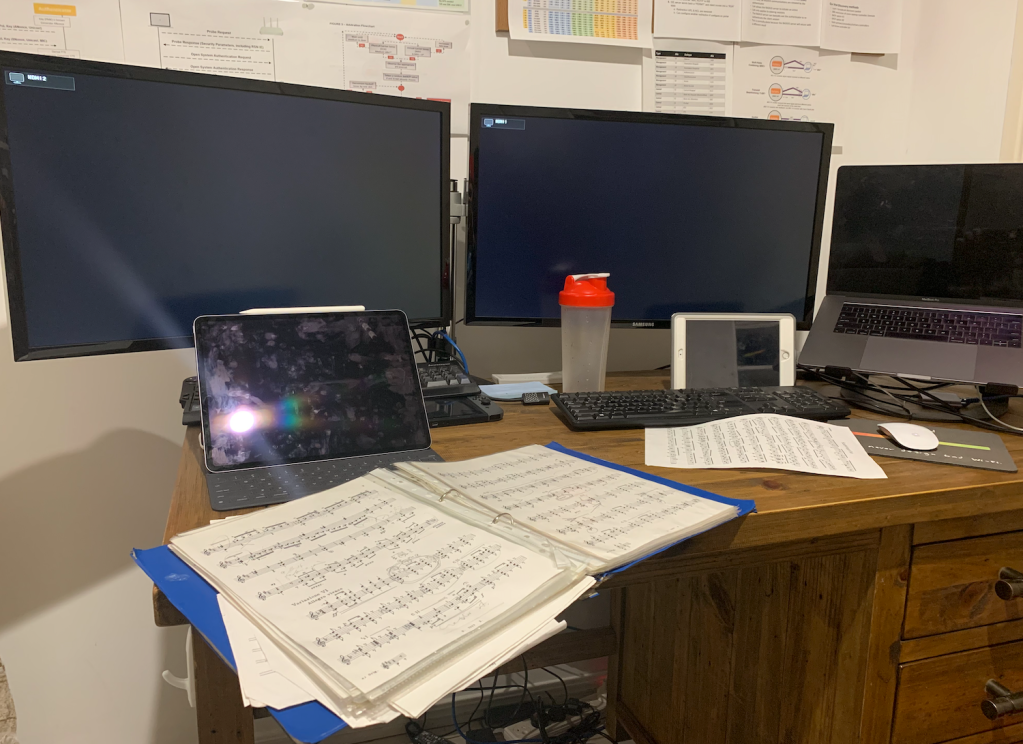
First I decided to get my office desk sorted, only adjustment was I had to raise the second shelf higher as I kept hitting my head on it when I stood up. I was extremely please with the end result. Plenty of space for 3x 28inch monitors, multiple keyboards and other bits and bobs and it is easy to keep tidy
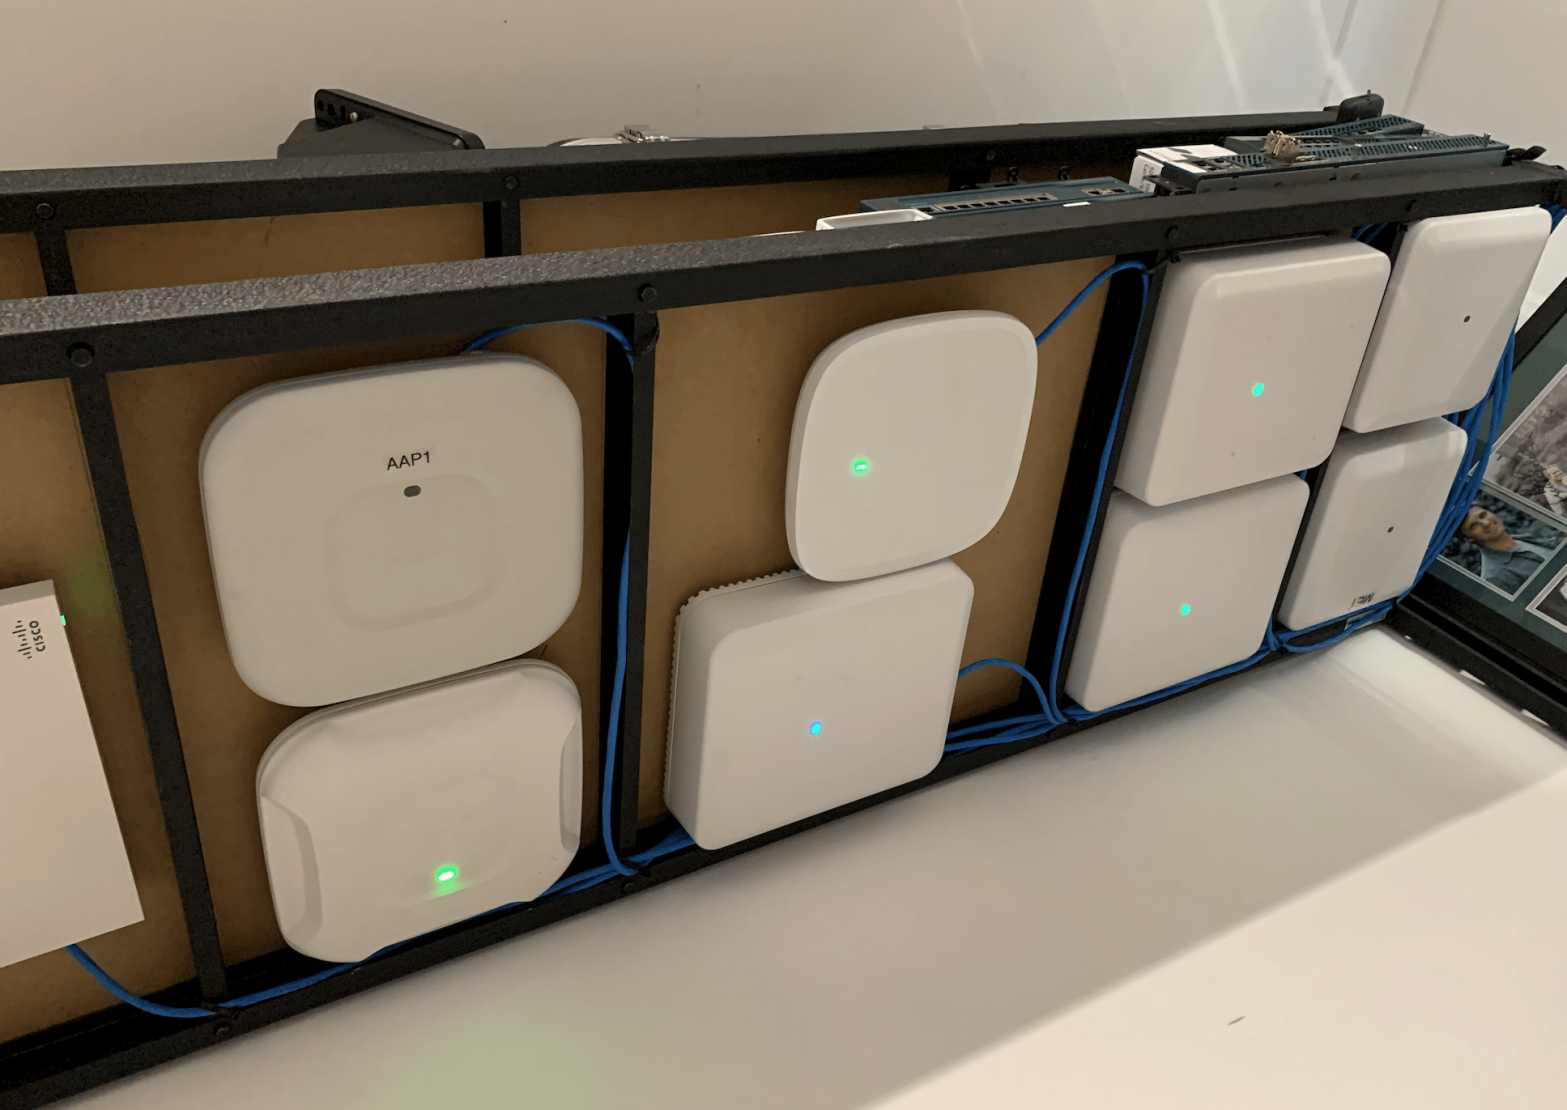
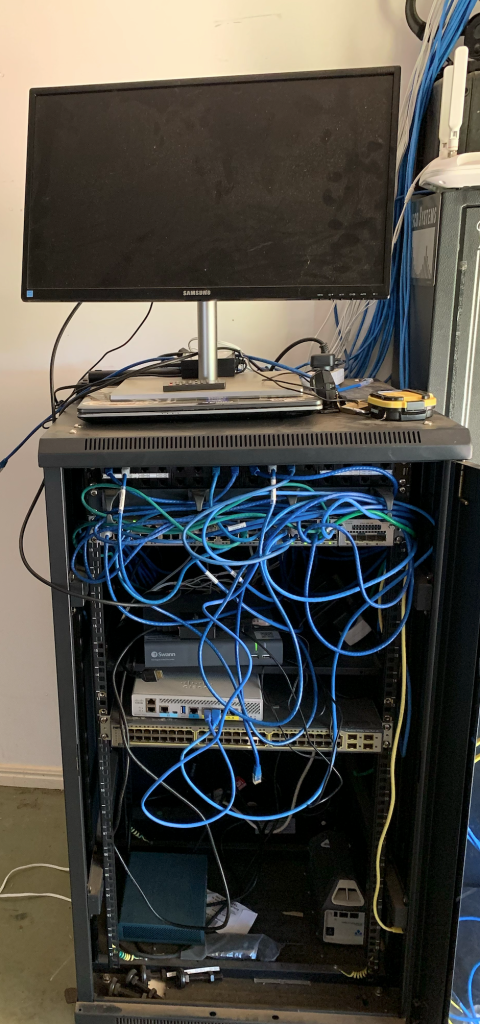
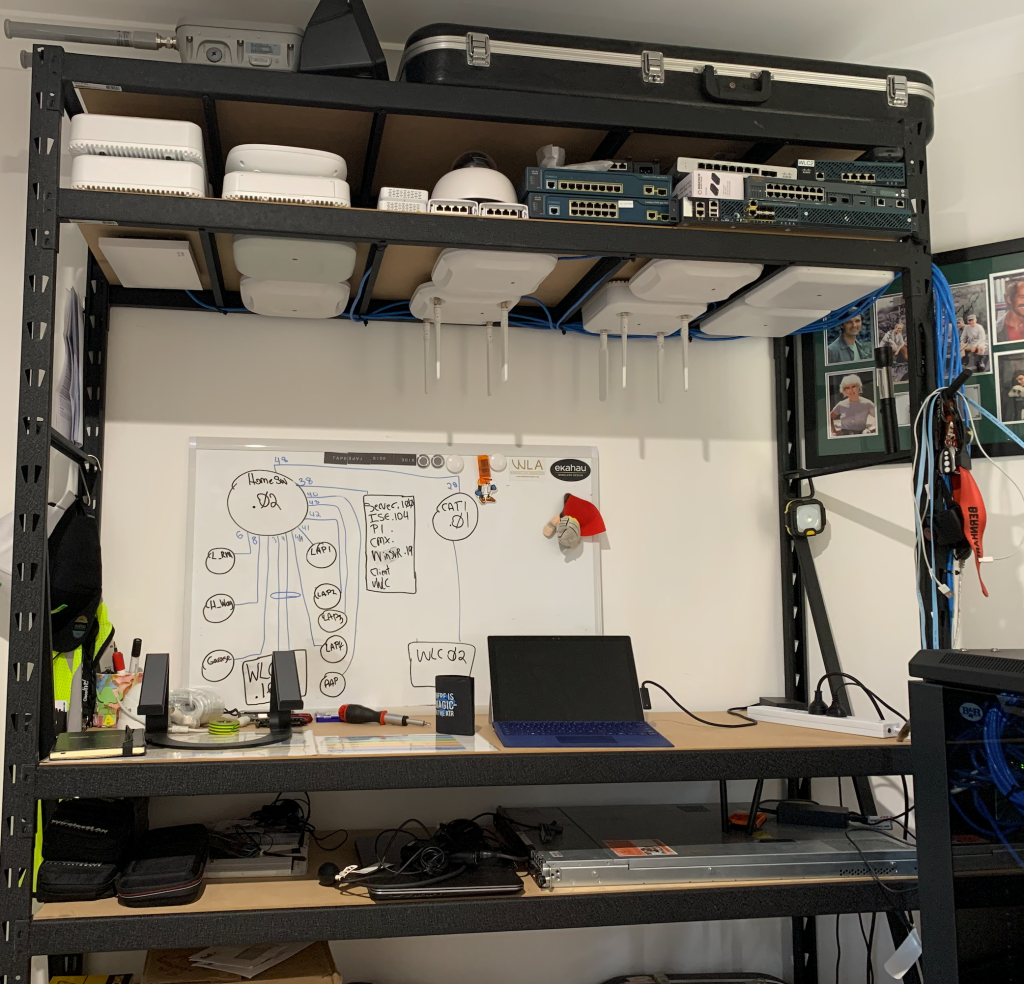
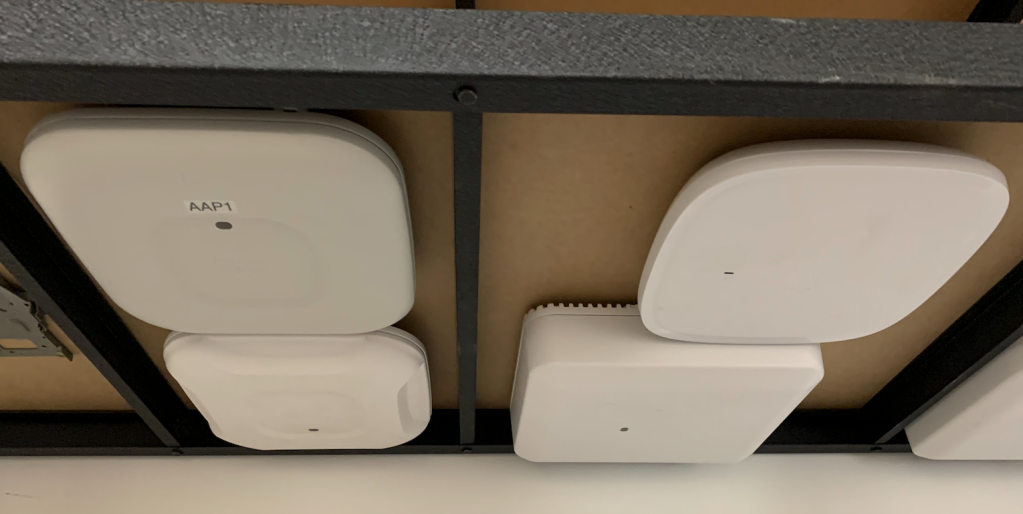
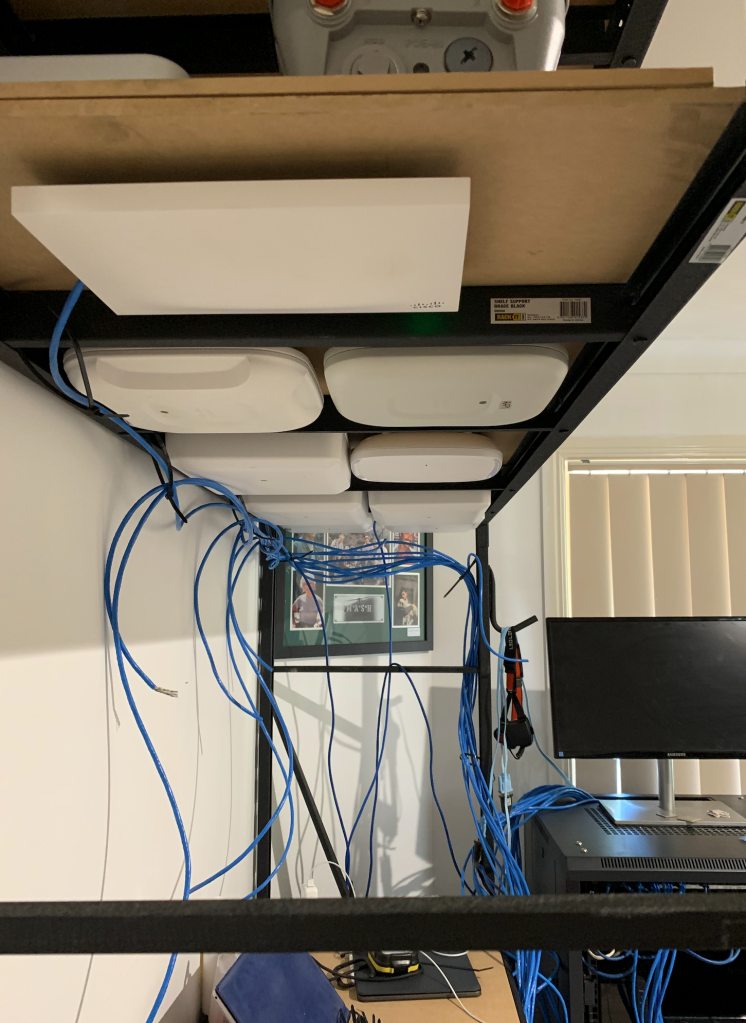
Happy with my office desk, next was to build my lab test area, I also moved the communication cabinet into my office as it needed to go from the garage. I decided to use the same modular rack system but this time higher and longer, and it turned out brilliant.
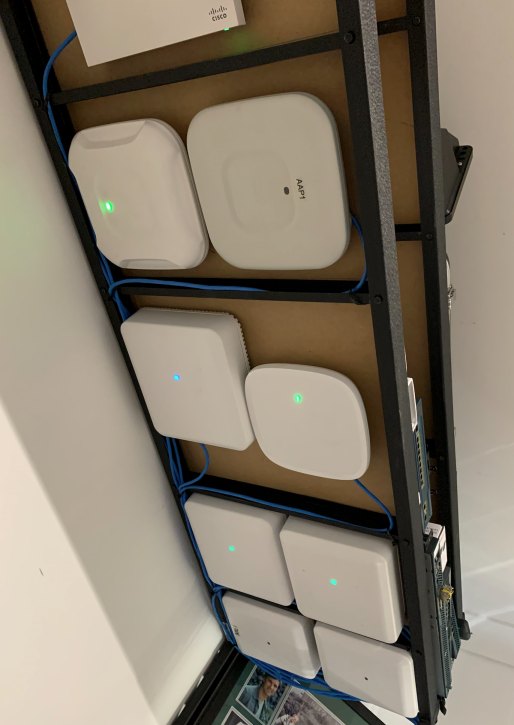
The End result.
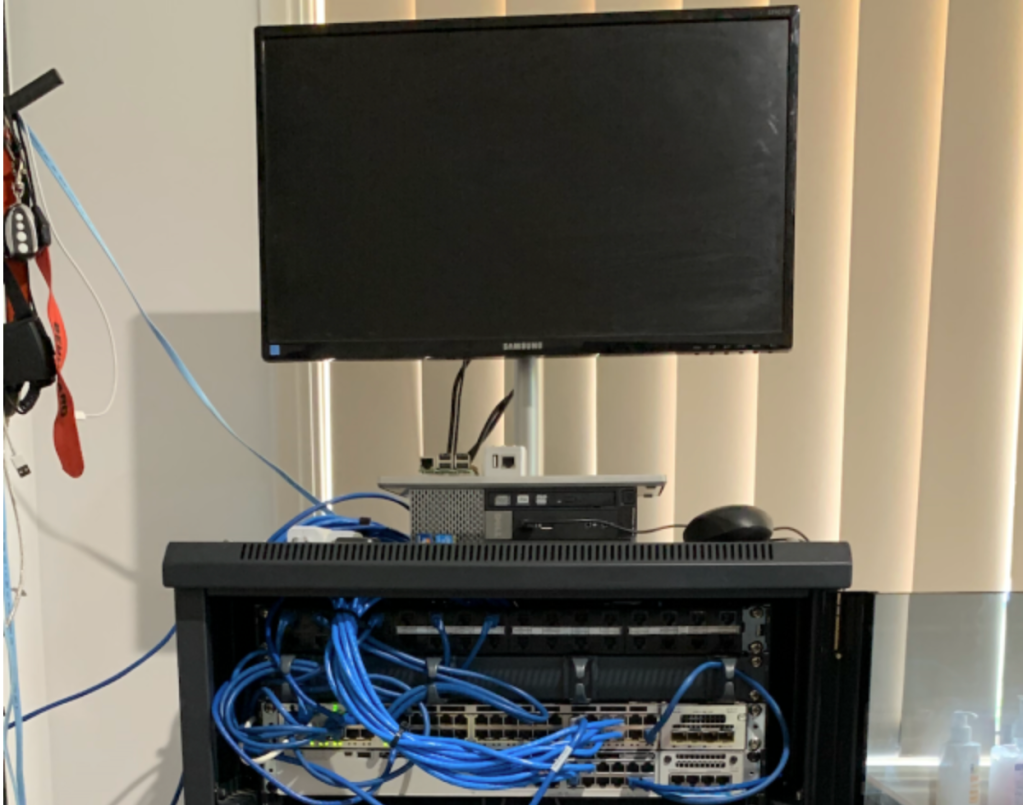
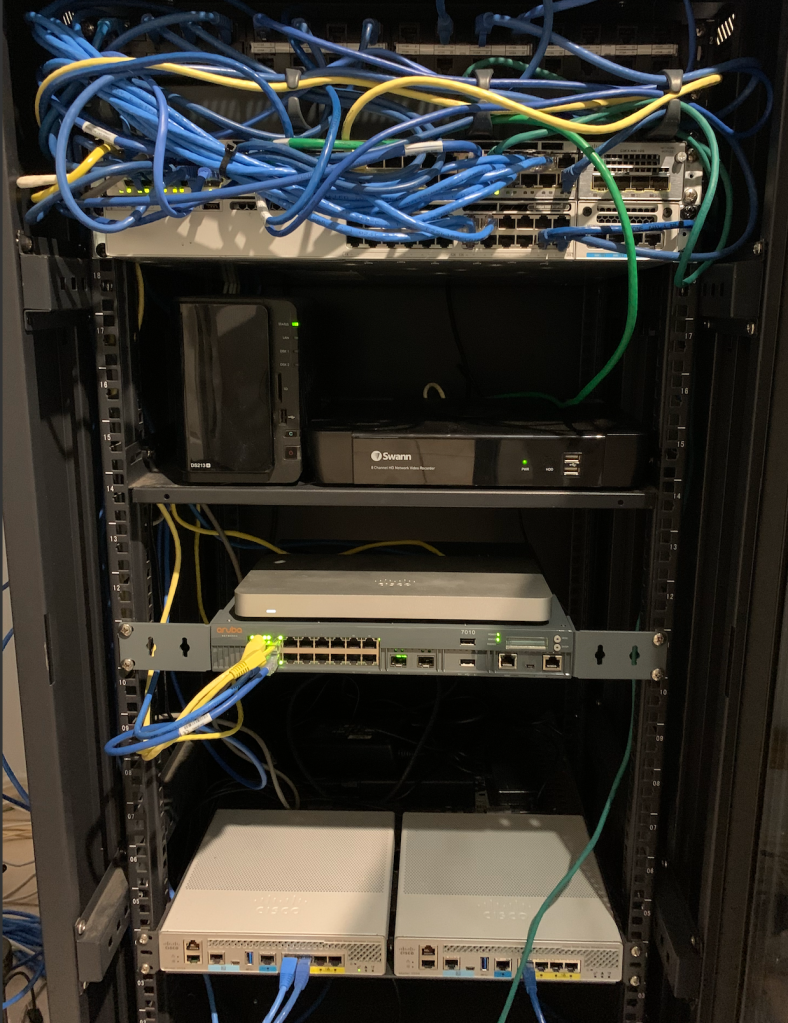
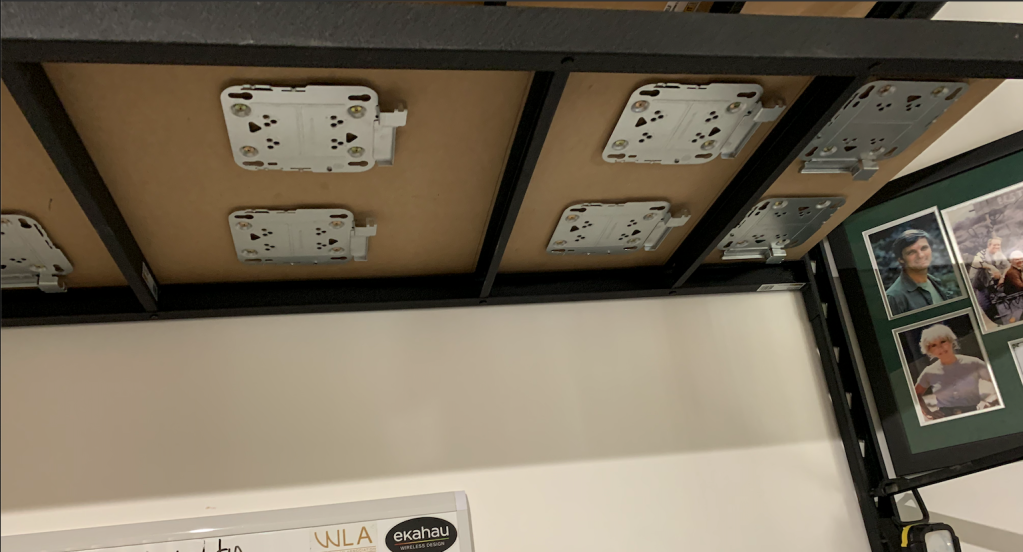
The hardest part of all this was the cable it just became a birds nest of cables and a nightmare in the roof.
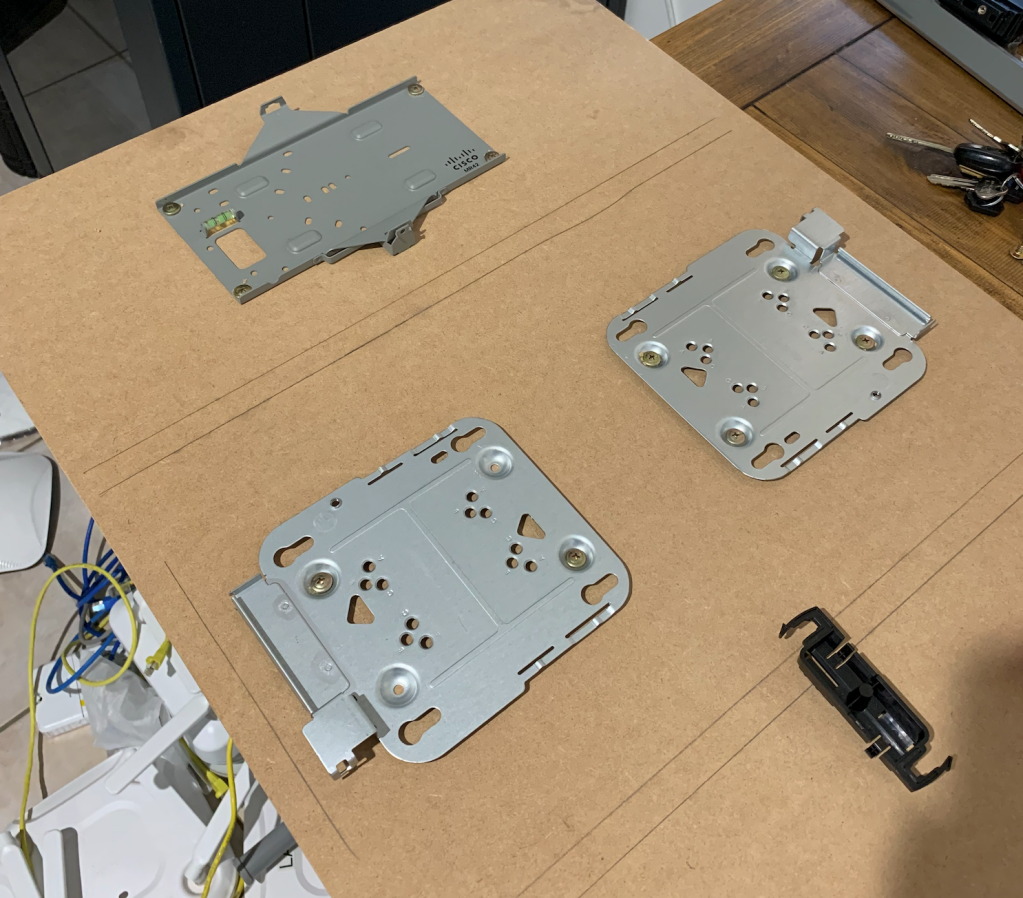
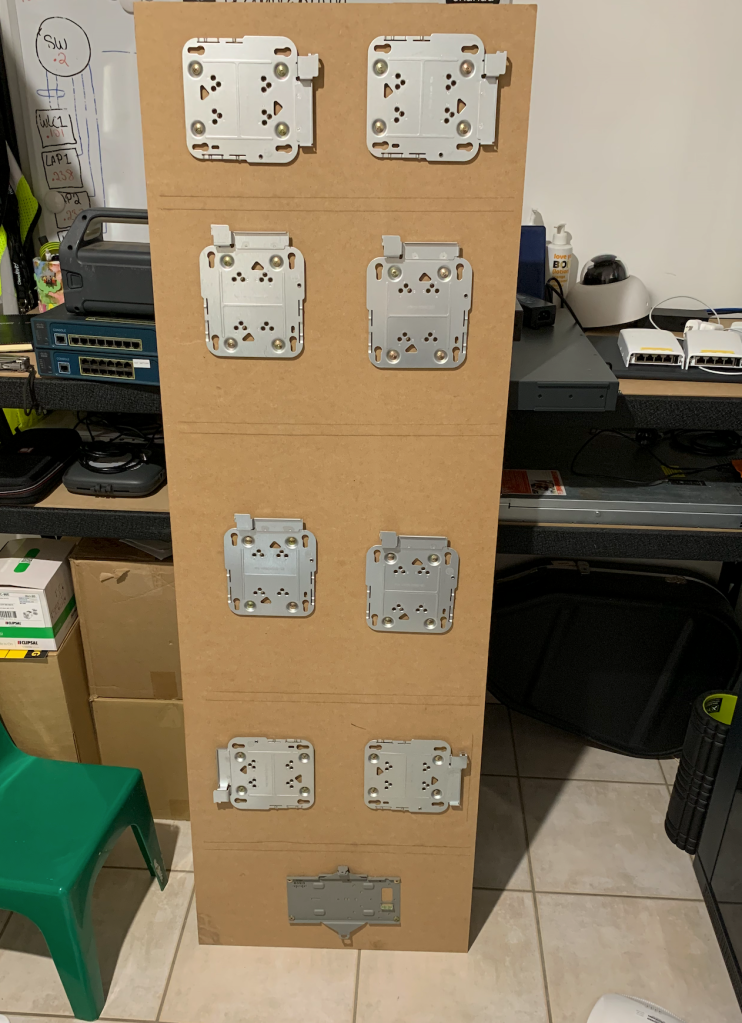
All the AP’s were mounted on a 1500mm W x 500mm D x 9mm H MDF with the AP mounts drilled in with 1/4 screws


The equipment for the office desk is made by Rack IT , here is a list of the equipment you need as the amount of shelves is up to you, but I had 3 shelves for my desk,
2xUpright (legs) at 1830mm H x 530mm D, 2x “MDF shelf” per shelf at 900mm W x 500mm D x 9mm H” , 2x Beams per shelf 1800mm W x 50mm
The lab rack, I had 4 shelves for this so times everything by 4 expect the legs.
2x Upright (legs) 2135mm H x 530mm D legs, 1x “MDF shelf” 1500mm W x 500m D x 9mm H , 4 x ” shelf Support Brack” per shelf 500mm, & 2 Beams per shelf 1500mm W x 500H.
For the shelf that had the AP’s drilled into it I bought a another piece of MDF, to sit on top just in cast I drilled through, so it would not scratch anything that was place on that shelf.
Next post I will show what my outdoors wireless network looks like.

Awesome setup! Great job! Giving me some ideas for my home lab set up too… 🤔
LikeLike